How to Make an Easy Wood Box for Beginners
Giving a gift that you make typically means more to the person receiving it than if you were to just give something that you purchased. So in this video I'm making a few gift boxes to give for Christmas.
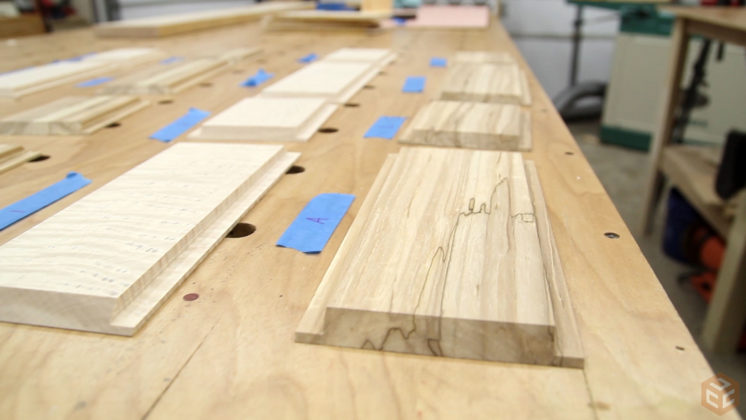
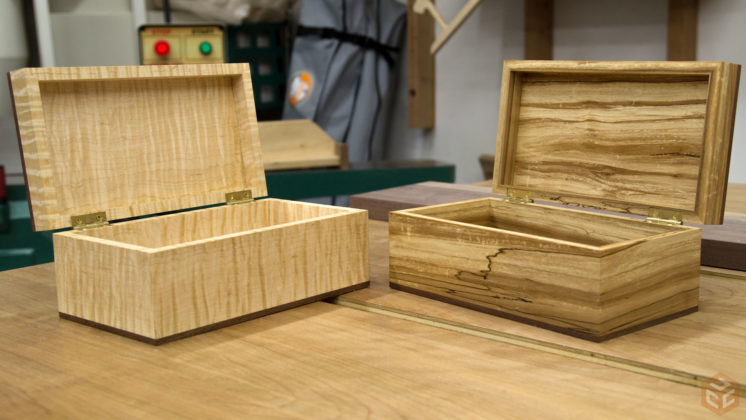
I'm using curly maple and what I think is spalted soft maple. These are boards I purchased from Bob Kloes in a recent trip to Wisconsin. If you're interested in some really figured wood then stop by his website. He only stocks figured stuff, has great prices, and ships. I spent a few hours in his shop with a couple of friends of mine and Bob is such a really genuine guy. So if you're interested, be sure to check out his website.
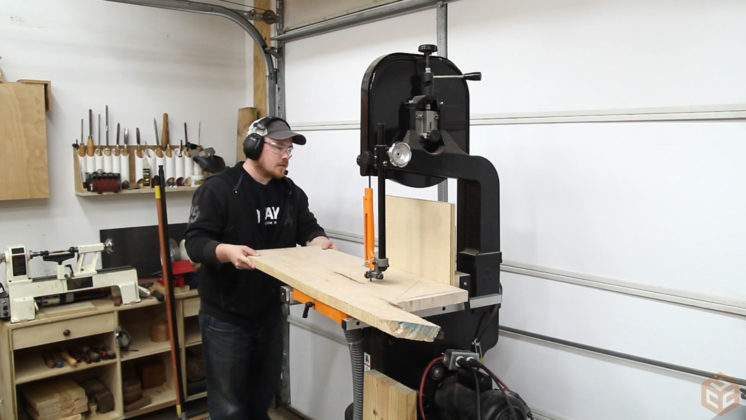
Something I picked up from Bob was that the most figure will be on the bark side of the wood. The curly maple board that I used had some defects that prevented it from being used at its full width so I chose the side that had the most figure and used the jigsaw and bandsaw to cutout what I needed.
Next up is the jointer and planer to get the boards flat and parallel. This was my first experience using really figured wood on a jointer and planer and the helical head on my jointer left a flawless surface with no tearout where as the straight knife cutter head of my planer really didn't do a good job. I had to take extremely shallow cuts on the slow speed to prevent tearout.

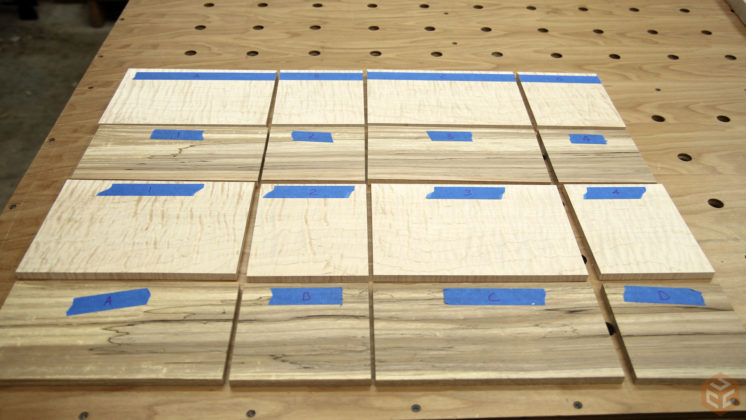
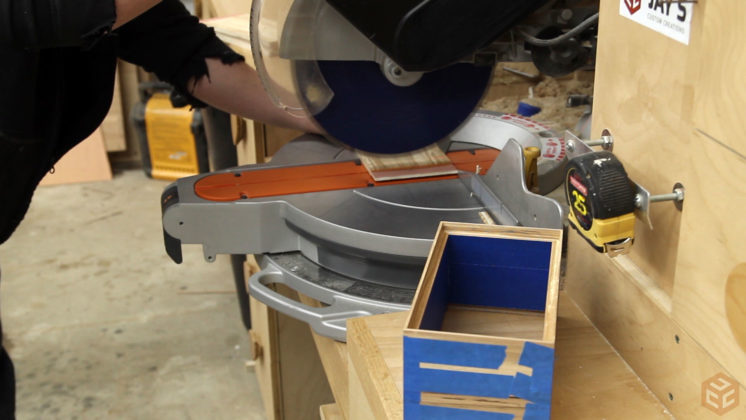
The stock I started with was a heavy 4/4 so I resawed everything down the middle and then planed to 3/8" thick. From there I used a couple spacer blocks at my miter saw to cut the four box sides. I cut these so that there will be one back corner where the grain starts and stops because that's the only way I've ever done this. However, quite a few people on instagram told me that there is a way to do a 4 corner continuous grain with no start and stop points.
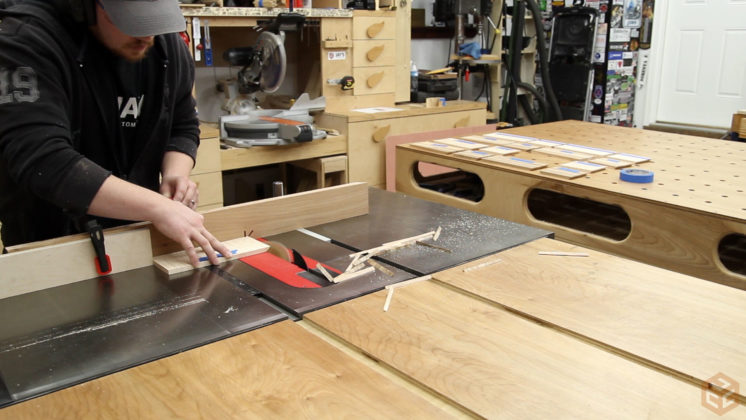
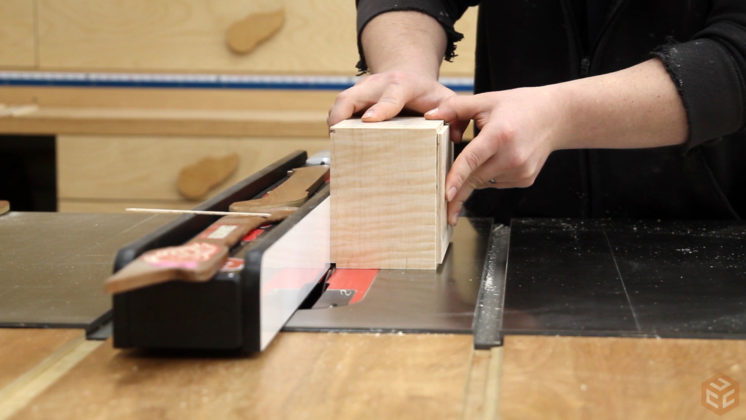
At this point the sides looked a little tall so I trimmed them down at the table saw. I don't recall what the dimension was as I wasn't going for a certain number. Just whatever looked appropriate. Then I tilted the blade to 45 degrees and cut a test joint to make sure everything would line up. I set a stop block on my miter gauge so that I wasn't removing length, just beveling the edges. It worked out really well.
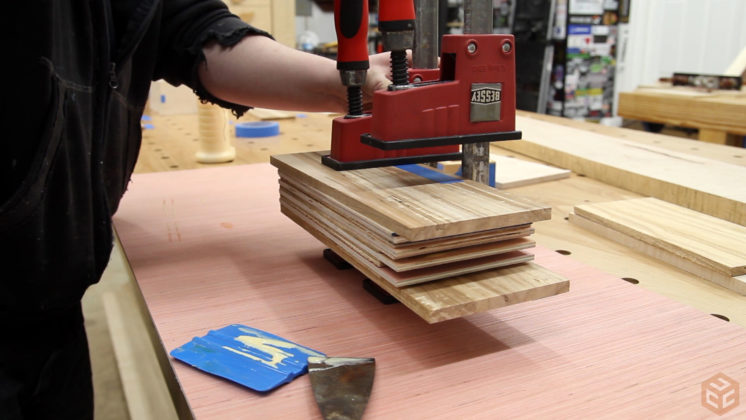
I wanted the top and bottom to be the same material and glued in a rabbet but in order for this to work I need to make veneer and glue it on plywood. That way the panel is dimensionally stable and I shouldn't have to worry about expansion and contraction. The plywood that I'm using is sold locally as 5mm hardwood plywood underlayment. I also made sure that the plywood was cut with the top and bottom layers perpendicular to the wood I'm gluing on.
After those panels dried I used one to set the height of my table saw blade and cut a rabbet the same depth as those panels on the top and bottom of all of my box pieces. The rabbet width was sized so that there was only about 1/16" of material left to the thickness of the box sides.
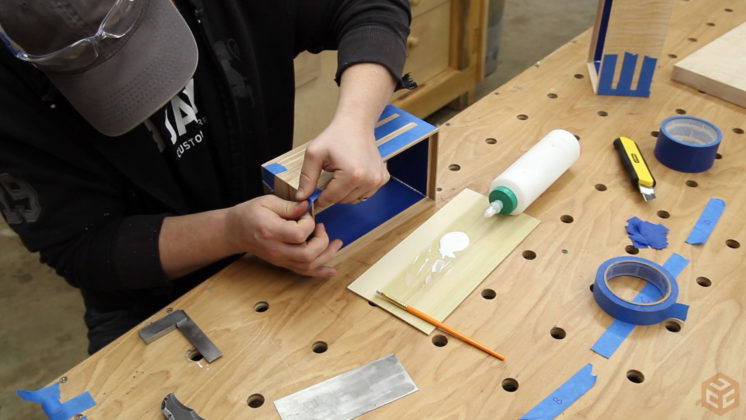
As the old saying goes, "an ounce of prevention is worth a pound of cure." To prevent any glue squeeze out from staining the interior of the box I taped off the inside faces. Then tape can be used as a clamp to roll up the boxes with glue in the joint. I find a cheap paint brush to be perfect for applying glue in these situations.
Next up the plywood panels can be sized to fit into the top and bottom rabbets. Because of the way I will inlay some walnut on the top and bottom perimeter absolute precision isn't necessary when sizing the top and bottom panels. I'd actually prefer it to be a little bit of a loose fit as the glue will hold everything in place and it reduces the risk of me breaking the sides as I glue them in place.
Once the glue dried on those I set the table saw blade so that it was 3/16" high and the outside face was 3/16" away from the fence. This allows me to take two passes to create a symmetrical rabbet on the entire top and bottom perimeter. regardless of how precise the top and bottom panel were sized in the previous step this cuts beyond the perimeter of those panels and into the area which creates a precise line where the panel ends.
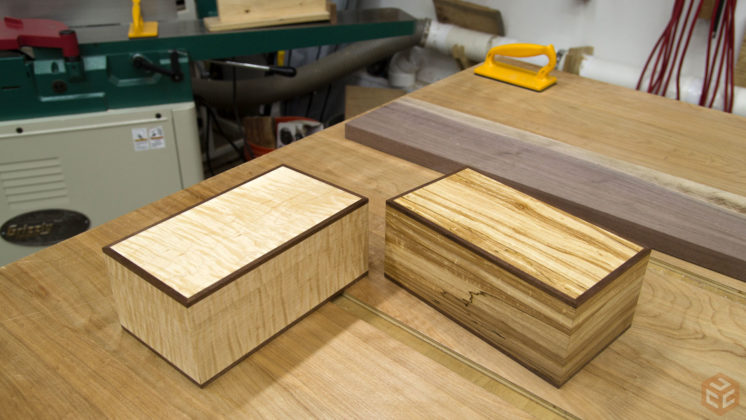
I wanted a high contrasting wood to inlay in the rabbets so I chose walnut. I had to go through the milling process first and then I cut a few strips that were exactly 1/4" x 1/4" square. Any time you are making specific size inlay material for a project it's a good idea to cut a few extra pieces so you can keep working in the event that you accidentally make a wrong cut during installation.
Because my shooting board is set up for right-handed use I worked clockwise around the box when fitting the walnut. First cut a rough 45 degree angle with a saw, make it an accurate 45 degrees with the shooting board, put it in place and use a scrap piece with an accurate 45 degree angle to see if the piece is the appropriate length, and then trim down as needed until that piece has perfect miters on both ends. Once a piece is fitted use a couple of pieces of blue tape to hold it in place while you work on the next piece.

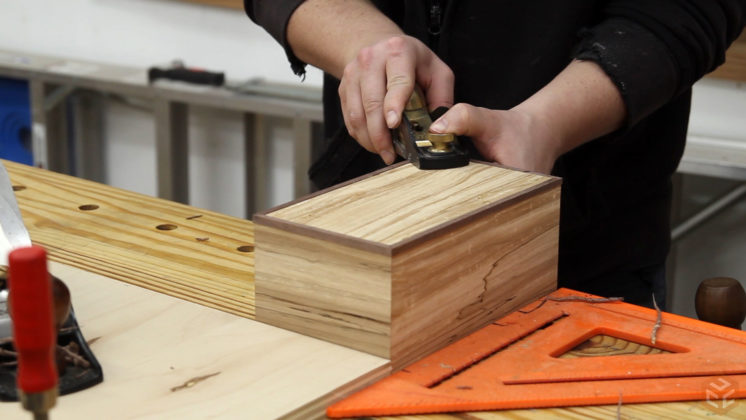
Then use the tape to lift the piece out of the rabbet, insert glue, and then tape it back down. With the walnut glued in place I alternated between a couple of hand planes to trim it flush with the box. To prevent tearout I planed into the corners in a couple of situations and when I was getting down to the last little bit I used my block plane in such a way that at the end of the cut I skewed the plane similarly to a paring cut with a chisel to slice away the last corner and reduce the chance of tearout.
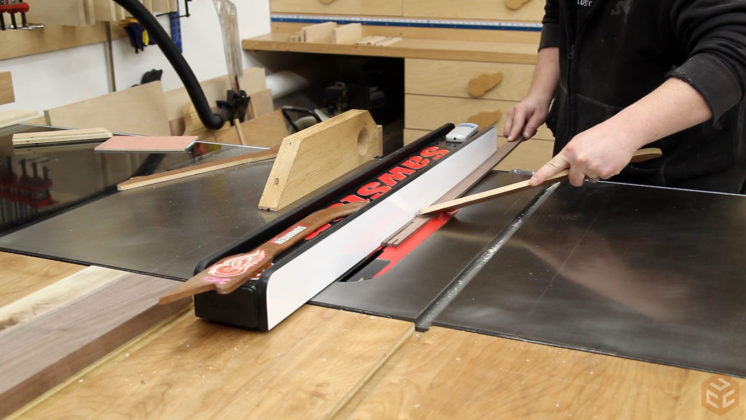
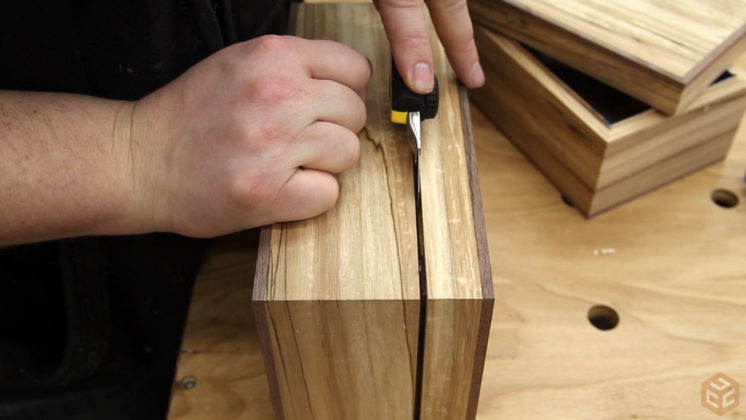
I used the table saw to separate the lid which is always a little nerve-racking. I read somewhere that it's a good idea to set the blade so that it doesn't cut all the way through the wall thickness which will eliminate the possibility of damage as the second piece might accidentally contact the blade as it is removed. Then you can break the pieces apart with a sharp utility knife. This worked really well.
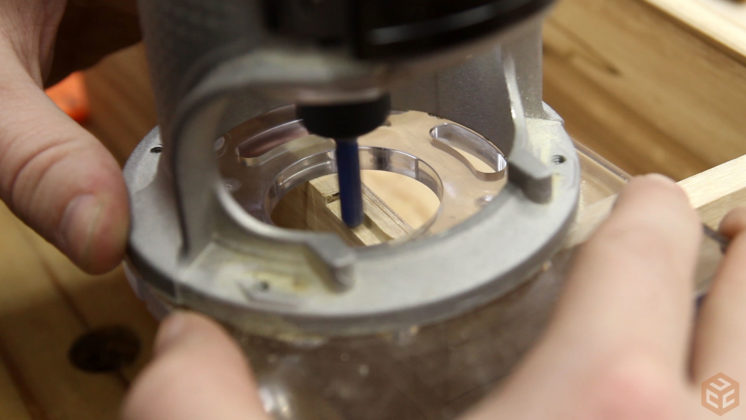
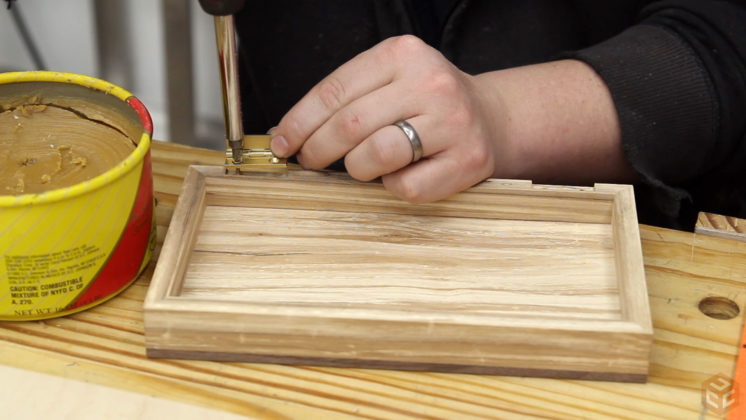
A little bit of sanding to remove the saw marks and then the hinges can be installed. To layout the hinges I first marked the same distance in from each side with a marking knife. Then the hinge itself can be traced with a marking knife and a wide chisel can be used to make the knife lines a little bit more pronounced. With the geometry established I set a router to a depth of half of the closed hinge and carefully removed all of the interior material making sure to not touch the layout lines and not rock the router any. Then a sharp chisel can clean up the mortise quite easily.
I used an awl to mark the screw holes slightly offset to the inside of the box. That way when the screws are driven down the head of the screw will force the hinge to seat tightly into the inside face of the mortise. When using screws this small in hardwoods it's also a good idea to add a tiny bit of wax to the threads.
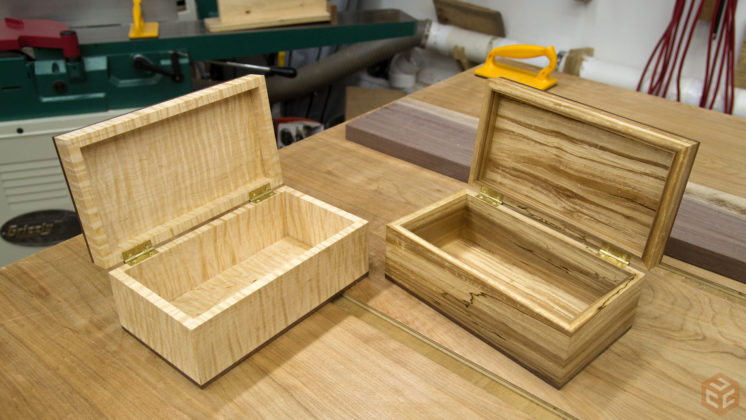
After a little bit of sanding I applied a couple of coats of shellac. I'm not entirely done with this project at this point but as it sits the boxes themselves are done. I only added hinges to two of the four because I want to do something different with the other two and I didn't add anything to the insides just yet. I'll cover all of that in the next video. Until then, have a good one, and I'll talk to you later.

Source: https://jayscustomcreations.com/2016/12/how-to-make-a-wooden-box/
0 Response to "How to Make an Easy Wood Box for Beginners"
Post a Comment